Monday, January 29, 2024
Every Image Needs to be Tweaked
Sunday, November 19, 2023
Learn to See through the Camera
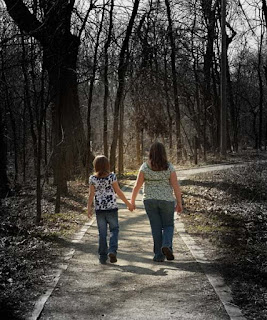
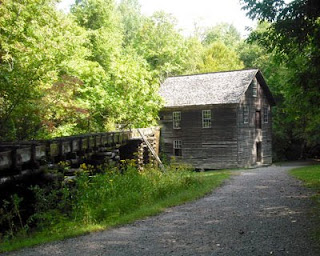
These three
images were created at the same place within a span of 30 seconds. All I did was turn 45 and 90 degrees from the
first image. Looking through the camera
is different than seeing through the camera.
Some people look for something to photograph, others see the image in
front of them. Learn the pre-visualize
the image, so when you look through the viewfinder, you can see the image you
want before you press the shutter release.
Now, instead of home to download the images to see if you have anything
good to work on, you’re more anxious to view the images you have pre-visualized
and see how you can tweak them and make them better. Learn to see through the camera.
Monday, June 21, 2021
Keep it Simple
Sometimes images can be too complicated. Keep it simple. Concentrate more on the composition, graphic impact, and visual story telling. To enhance your image, first make a copy of the images and always work on the copy. Save the original, and if something so go wrong, or you’re not happy with your enhancements, you can always start over. Photoshop and other image editing software have many different image adjustment and enhancing tools, but they’re not all necessary all the time. Keep it simple. Start with levels and get the exposure the way you want it. Remember, a small adjustment changes a lot. Then look at color correction. This seems tricky in the beginning but you will get better with practice. Then adjust the contrast and saturation. The trick is to adjust a little at a time. Do not over do. Watch for loss of shadow detail and the blocking up of the highlights. The great thing about digital is if you are not happy with the final image, you can always start over. Do a little correction at a time and keep it simple.
Wednesday, June 9, 2021
Inspiration
Sometimes we
travel far and wide to find inspiration to create images that have impact. And sometimes we just step out the backdoor
and there it is. The African Daisy was
photographed six feet from my backdoor.
Simple Beauty and inspirational subjects are all around you if you learn
to see it and not just look for it. You
need to learn to see thru the camera, and not just look thru the camera. See the image you want first, than see it
thru the camera and snap the shutter.
Don’t just look thru the camera for something to take pictures of. See it in your mind first, and then see thru
the camera. Once you master that, creating
great images is a lot easier.
Also remember
that it’s very rare that a digital image is perfect directly out of the camera. All digital images need a little improving to
make the images great. Cropping, levels,
saturation, and color correction and enhancement, can make a big
difference. It can make an average image
something special.
Thursday, February 20, 2014
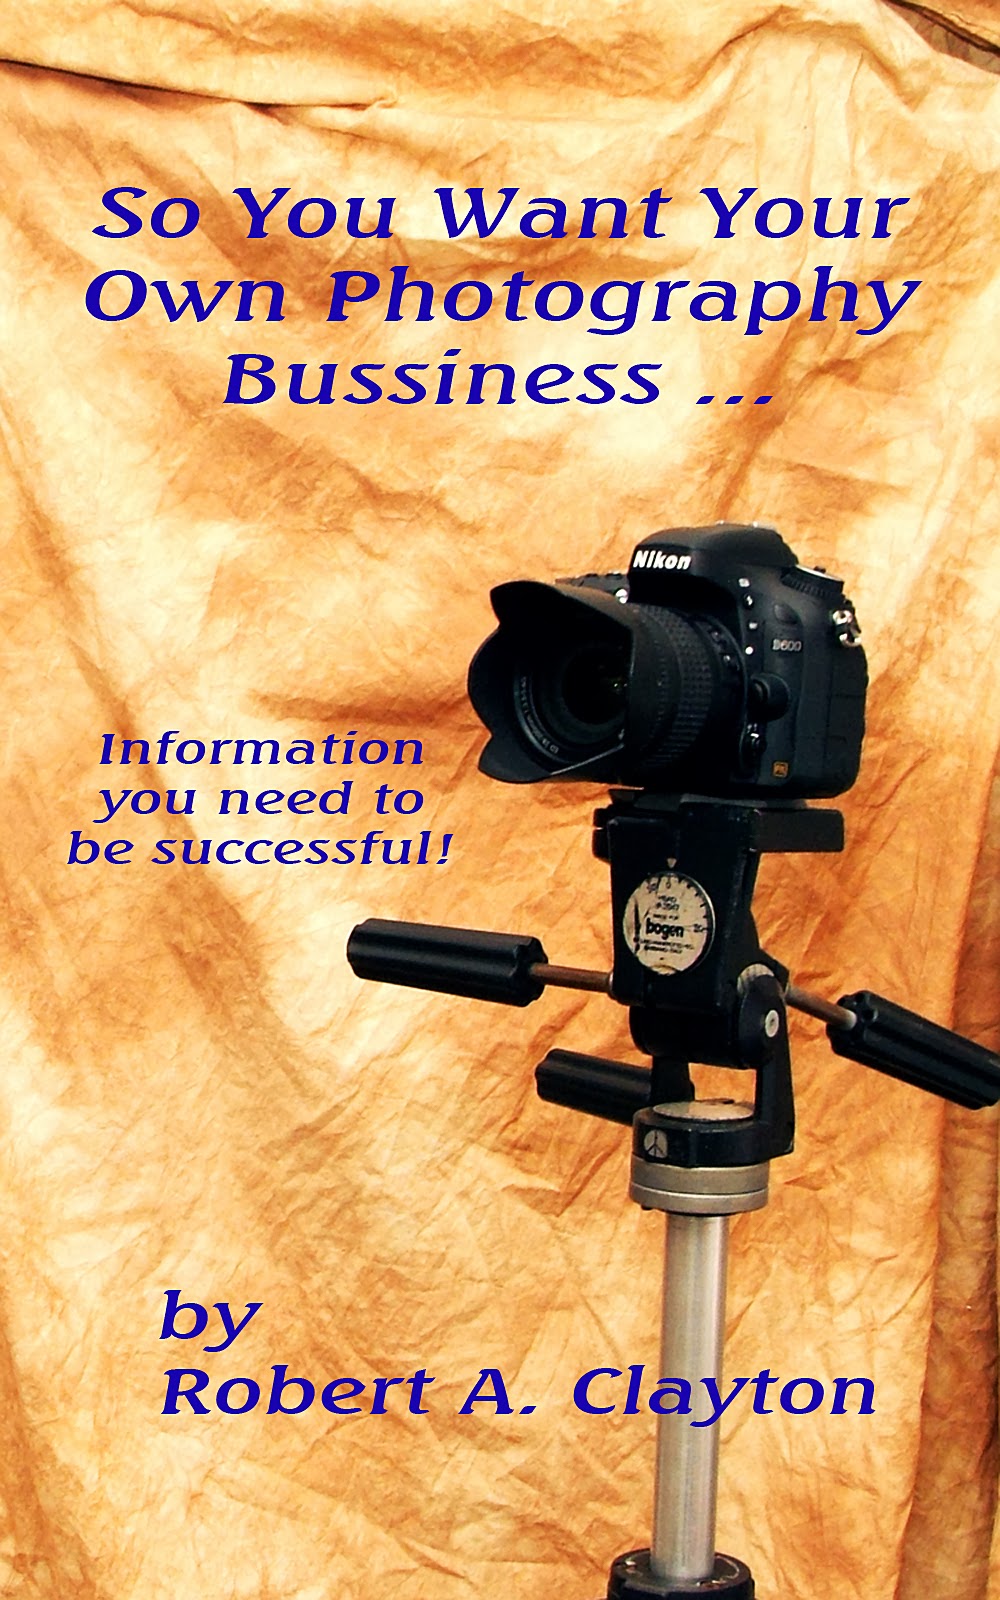
Photography Business Book
 I have been asked
many times for advice in starting a studio or photography business. So I have put some of my thoughts and advice
into a book. This book is not about how
to create photographs, but thought and considerations about opening your own business. Equipment needed, location considerations,
and resources to get you started are covered in the book. It comes in a three ring workbook format so
you can add thought to it and develop your business plan of action for future reference. $29.95 includes shipping. Email me at bob@claytonphotgraphy.com
I have been asked
many times for advice in starting a studio or photography business. So I have put some of my thoughts and advice
into a book. This book is not about how
to create photographs, but thought and considerations about opening your own business. Equipment needed, location considerations,
and resources to get you started are covered in the book. It comes in a three ring workbook format so
you can add thought to it and develop your business plan of action for future reference. $29.95 includes shipping. Email me at bob@claytonphotgraphy.comSaturday, October 10, 2009
You’ve taken the pictures … now what?

Step 1: On your computer in the folder where you store your images (pictures), create a folder with a name that relates to the images to make them easy to find. Name it for a specific event or date. Such as Party-081909, or Seashore Vacation 2009, or just the date 091909, whichever works best for you? In that folder create a subfolder and name it “all files.” Now copy the image files from your camera or memory card into the “all files” folder. Make sure you copy the files. Do not move the files, just copy the files. Once you have made sure the files have been copied successfully, you can erase the images files in the camera, or reformat the memory card.
Monday, September 28, 2009
How to buy a new digital camera

You can pick up a basic no frills digital camera in a convenience store for less than fifty dollars. Or you could go to a high end retail store and spend several thousand dollars. Some of the professional digital SLR bodies alone could cost over five thousand dollars. How do you know what to buy, or which camera is best for you. Research!
Make a list of the features you want your new camera to have. For example:
Does it have a viewfinder or do you use the LCD screen as a viewfinder?
What kind of memory card does it require?
How many white balances are available, and does it allow for custom white balance?
What’s the zoom range of the lens?
Does it have shutter lag, or is the shutter instantaneous?
Does it have a built in flash? If so, how powerful is it.
What is the ISO range?
What kind of batteries does it require?
What all is included with the camera?
What’s the price range for the camera?
If you’re thinking of buying a digital camera, or you already have a digital camera, there is a good chance you have access to a computer. Go to Google or Bing and start searching. You will end up with an overload of information. Would I purchase the camera on line? Maybe? It would depend on whether I have had successful dealings with company before, or I have good reports about the company for reliable sources. After the research you should have enough knowledge to know the type of camera you are will suite your needs.
An easier approach is to go to a local camera store and let a knowledgeable salesman help you with your decision. When I say local camera store, I don’t mean a big box department store with a camera and video section. I mean a locally owned camera store that will give you personal service, and backup what they sell. The only one I know of around the Dayton area is Fairborn Camera, in Fairborn, Ohio.
The first thing they will ask you when you tell them you’re interested in a digital camera is: how do you intend to use the camera, and what type pictures do you want to create? They will guide you from there and help you select the digital camera that is best for you.
If you go to Fairborn Camera, tell them Bob Clayton sent you.


